Photo Concepts for Time Starved People

Each industry has its own terminology—its jargon and acronym language that drives those of us outside of that world stark raving mad. The technology industry is particularly fond of its geek speak; as an Air Force brat, I learned to speak in all capital letters but sometimes the brief sheets and media releases I receive put those early days to shame.
These documents seem to make more sense if I read them backwards.
Fortunately, the basis of digital photography is still photography, and the terms used in the composition and crafting of your favorite images ca be explained in a straightforward style (read: not Klingon). My goal here is to overview the most common photography terms so that you can play with a new technique the next time you’ve got your digital camera in hand.
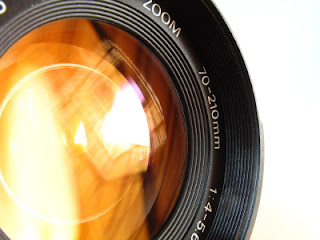
Aperture: A camera lens’ opening, called its aperture, can be adjusted to let in less light or more light depending on the circumstances.
Aperture: A camera lens’ opening, called its aperture, can be adjusted to let in less light or more light depending on the circumstances.
The size of a camera’s lens opening at any particular time is called the f/stop. As the numbers get larger, the opening gets smaller (confusing, but still true). So, smaller number= more light coming in, larger number = less light coming in through the lens.
Bonus Tip: If you’d like to learn how to calculate an f/stop mathematically, take the focal length of the lens and divide it by diameter.
Depth of Field: Depth of field is the area of your scene that will be in clear focus. How close your subject is to you will affect your depth of field but so will your use of focal length and aperture. By playing with these three components, you can increase or reduce your depth of field and include more (or less) of additional subjects in the background.
Learning to use these three aspects to manipulate your depth of field can open up entire new areas of composing your photographs. You can play with blurring the background or simultaneously shooting two subjects in different areas in sharp focus (such as staggering your children to create depth but keep their faces sharp). With a bit of practice, your photography will grow from quick candids to artistic craft.
ISO: When you purchase film (and many of us still do), it will show the ISO number (International Standards Organization), which tells you how sensitive the film is to light. Low numbers mean less sensitivity, meaning it is used for very bright environments or needing a long exposure. Even though you’re using a digital camera, understanding how ISO works will still prove useful.
Light conditions still affect the quality of your images, so learning to adjust the ISO settings on your digital camera (to help you modify the sensitivity to light) may help you capture a higher quality image. For example, if you’re in a dark area, increasing your ISO setting will increase light sensitivity. You can also get better shots at further distances if your flash can’t reach the subject.
With all the focus on the ‘digital’ in digital photography and having our cameras in auto mode, we can easily forget there is a magnificent craft for us to learn in how to be better visual storytellers. By learning and practicing a few photographic concepts, you’ll not only create more beautiful pictures, you’ll tell a more compelling story—one that your loved ones will want to revisit.


0 Comments:
Post a Comment
Subscribe to Post Comments [Atom]
<< Home